

You can invite team members to your Ship To The Moon (STTM) account and assign custom roles to manage their access permissions.
Roles are created in advance using the Roles feature.
Step 1: Access Account Management
- Log in to your STTM dashboard.
- Click Accounts in the left sidebar.
Step 2: Create a New User
On the Account Management page:
- Click the + User button (top-right).
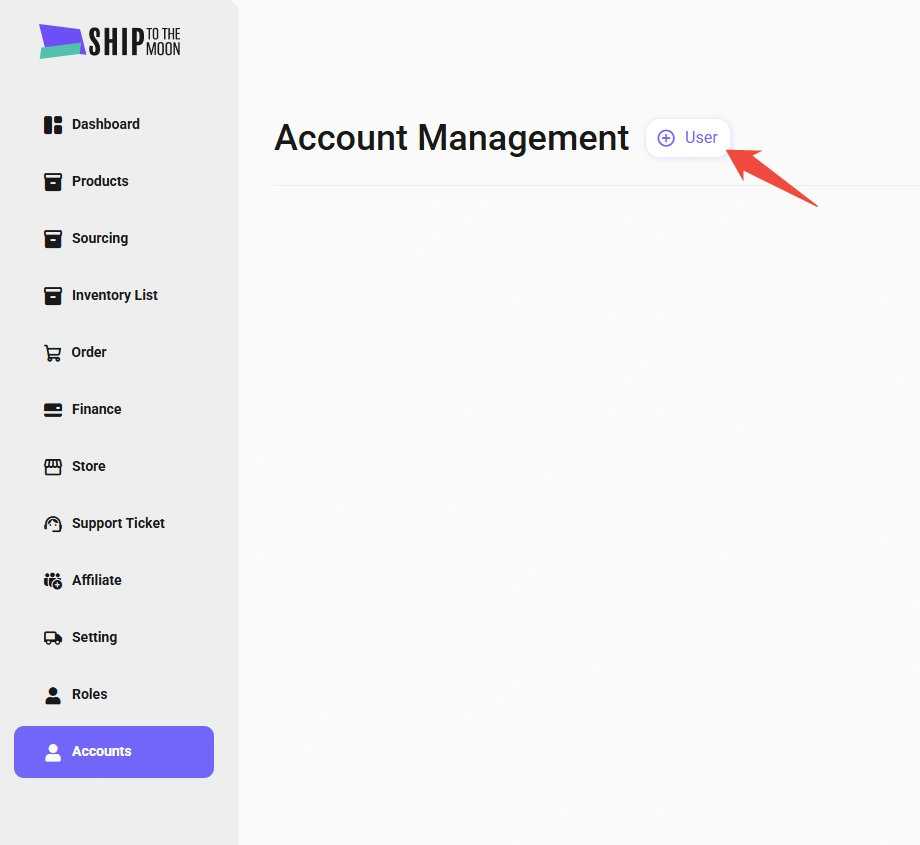
Step 3: Enter User Information
In the pop-up form, complete the required fields:
- Store Name*: Enter the user’s display name (e.g., “John – Support”).
- Email*: Use their work email (used for login).
- Password*: Set a temporary password (they can reset it later).
- Remark*: Add notes (e.g., “Customer Support Lead”).
- Choose The Store*: Select the store(s) they’ll access (if managing multiple stores).
- Role*: Pick a pre-created role (e.g., “Support Agent,” “Finance”) to define their permissions.
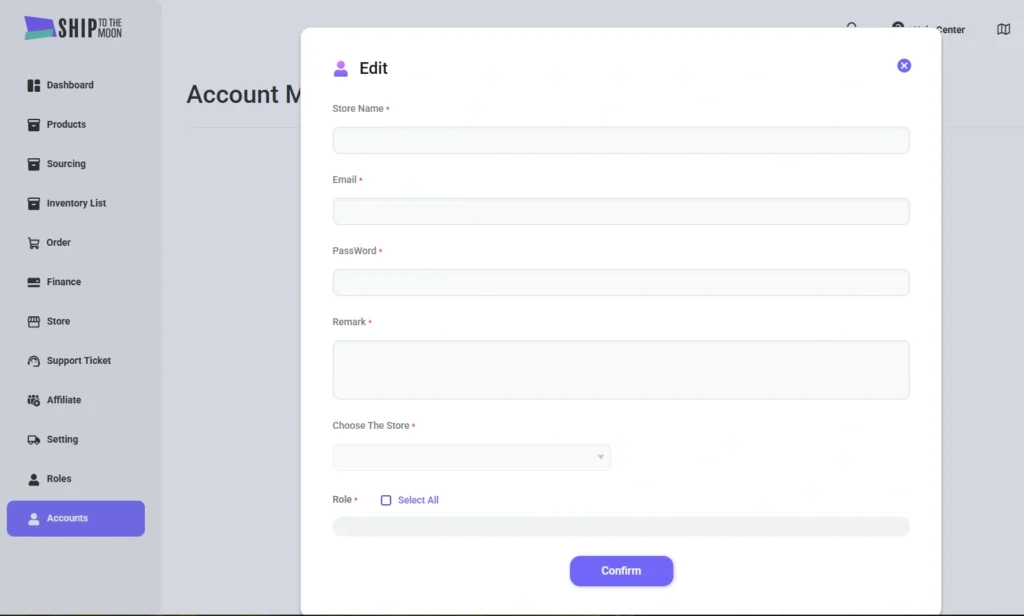
Step 4: Confirm & Save
Click Confirm to create the user. The new user will receive login credentials via email and can access the dashboard based on the assigned role and permissions.
Key Notes
- Role setup is required first: Make sure roles are created first (see How to define multiple roles).
- Store access depends on integration: If no stores appear in the selection list, check whether your store is connected under: Store → Integrations
FAQs
-
Can I edit a user’s details later?
Yes. You can update user details, including name, email, role, and store access from the Account Management list.
-
What if a user forgets their password?
They can reset it via the “Forgot Password” option on the login page, or an admin can reset it manually in their account settings.
-
How many users can I add?
No. You can add unlimited users based on your team needs.
Streamline teamwork by giving the right access to the right people! Need help? Use the dashboard chat.